Thursday, January 19, 2012

This is what I call a feast....


Numerous parties and reunions are held to celebrate the birth of our Lord Jesus Christ and the fresh start of a new year. Aside from the stories exchanged, fellowship and camaraderie gained in these gatherings, the food served and shared made it more memorable. It is during this time that we make extra effort in preparing the food for our family and friends. Allow me to share with you my experience during the holidays. 

The Christmas season made me miss my Mom even more. So, to honor and remember our Mom, my sisters and I made  a Christmas Menu reminiscent of our childhood. We recreated the dishes that Mama used to make for Christmas Day Family Reunion. Our relatives would usually looked for my Mom's trademark dishes.

For our family reunion, we decided to add a little twist to our Mom's classic Christmas Menu. I prepared a Steamed Fish with Mayonnaise, Roast Hainanese Chicken, and Beef Caldereta. My sister, Ate Beng, brought Amber's trio of pansit, Pansit Malabon and pichi-pichi. While my sister, Ate Wendy, made a sumptuous dessert - Heavenly Mango Dulce de Leche Layers (like a Mango Trifle). I baked Leche Flan (Mama's favorite), White Chocolate Macadamia Cookies and Chocolate Chip Espresso Cookies as addition to our dessert buffet. If these were not enough, our Uncle Roger had his Korean Beef Stew, my cousins Chariz, Erika and Innah and niece Sarah added  pasta dishes to the buffet table. Lastly, what we're all waiting for, my Auntie Ruby brought a big Lechon. To cap our lovely meal, brewed coffee was served.

Food is meant to be shared. It is more enjoyable when you share it with your family and friends. Wonderful memories are created in this partaking. I know this for a fact, since my Mom made great and happy memories for us.

Mom, you would have been proud of us, able to pull off your legacy of putting good food on the table on this special occasion. I'm sure my Mom had a great Christmas party in heaven =)

P.S.

Sorry, it took me awhile to post this piece. But, it's better late than never and I still have the holiday hangover.

Tuesday, November 29, 2011

Mango Granola Bars

I like oatmeal, so it is no wonder that I love granola bars. It also known as energy bars or snack bars. I usually eat this before or after a cardio workout. Whenever I want something crunchy with a hint of sweetness, this is my go-to-food.  I consider this to be one of the healthy snacks; but there are some granola bars in the market that are loaded with sugar - high fructose corn syrup, melted chocolate, chocolate chips, maple syrup. Since  most of the available bars in the market contain wheat germ, wheat cereals and corn syrup, and with my allergy history (allergic to corn and wheat), I decided to make my own granola bars.  I added a Filipino touch to this version by using dried mangoes instead of the dried apricots or raisins. This is an easy recipe, even kids can prepare this with adult supervision. Health buffs can have these bars without feeling guilty


My Mango Granola Bars Recipe:

Ingredients:

2 1/2 cups Rolled Oats (old-fashioned oats)
1/4 cup rice crispies/rice cereals
3/4 cup sunflower seeds
1 cup peanuts, crushed (or any choice of nuts like pecans, walnuts, almonds, cashews)
1/3 cup brown sugar
1/2 cup honey
4 tablespoons butter
2 teaspoons vanilla
1/2 teaspoon salt
1 cup dried mangoes 

Procedure:
  1. Preheat oven to 400˚Fahrenheit.
  2. Mix the peanuts, oats and sunflower seeds in a greased and lined baking dish or pan with waxed paper. Toast them in the oven for 10-12 minutes, stirring every few minutes so that they won't get burned. 
  3. Prepare another baking dish/pan (preferably 11 x 13 inches) for your granola by lining it with wax paper. 
  4. Put the brown sugar honey, butter, and salt into a saucepan and bring it to a simmer, stirring constantly. Remove from heat, add the vanilla and mix well. 
  5. Stir the grains, liquid glue and dried fruit altogether in a large bowl. 
  6. Mix everything really well until the grains and dried fruit are coated with the liquid glue. 
  7. Spread the mixture in the pan with wax paper. Press well. Wait 3-4 hours. Wait for it to cool before slicing it into bars. 

If you don't have a convection oven, you can use an oven toaster to toast the grains. You can toast the grains in batches. You can make variations of this recipe. You can use little chocolate chips or raisins or any dried fruit instead of the dried mango. You can replace the dried fruit also with peanut butter if you like. You can make it all nutty-granola bars by mixing 2-3 kinds of nuts. There are so many possibilities for these granola bars. 

If you want healthier snack alternative, try this recipe. I'm sure you're going to like it =)

Tuesday, November 15, 2011

The Tea Series Part 2

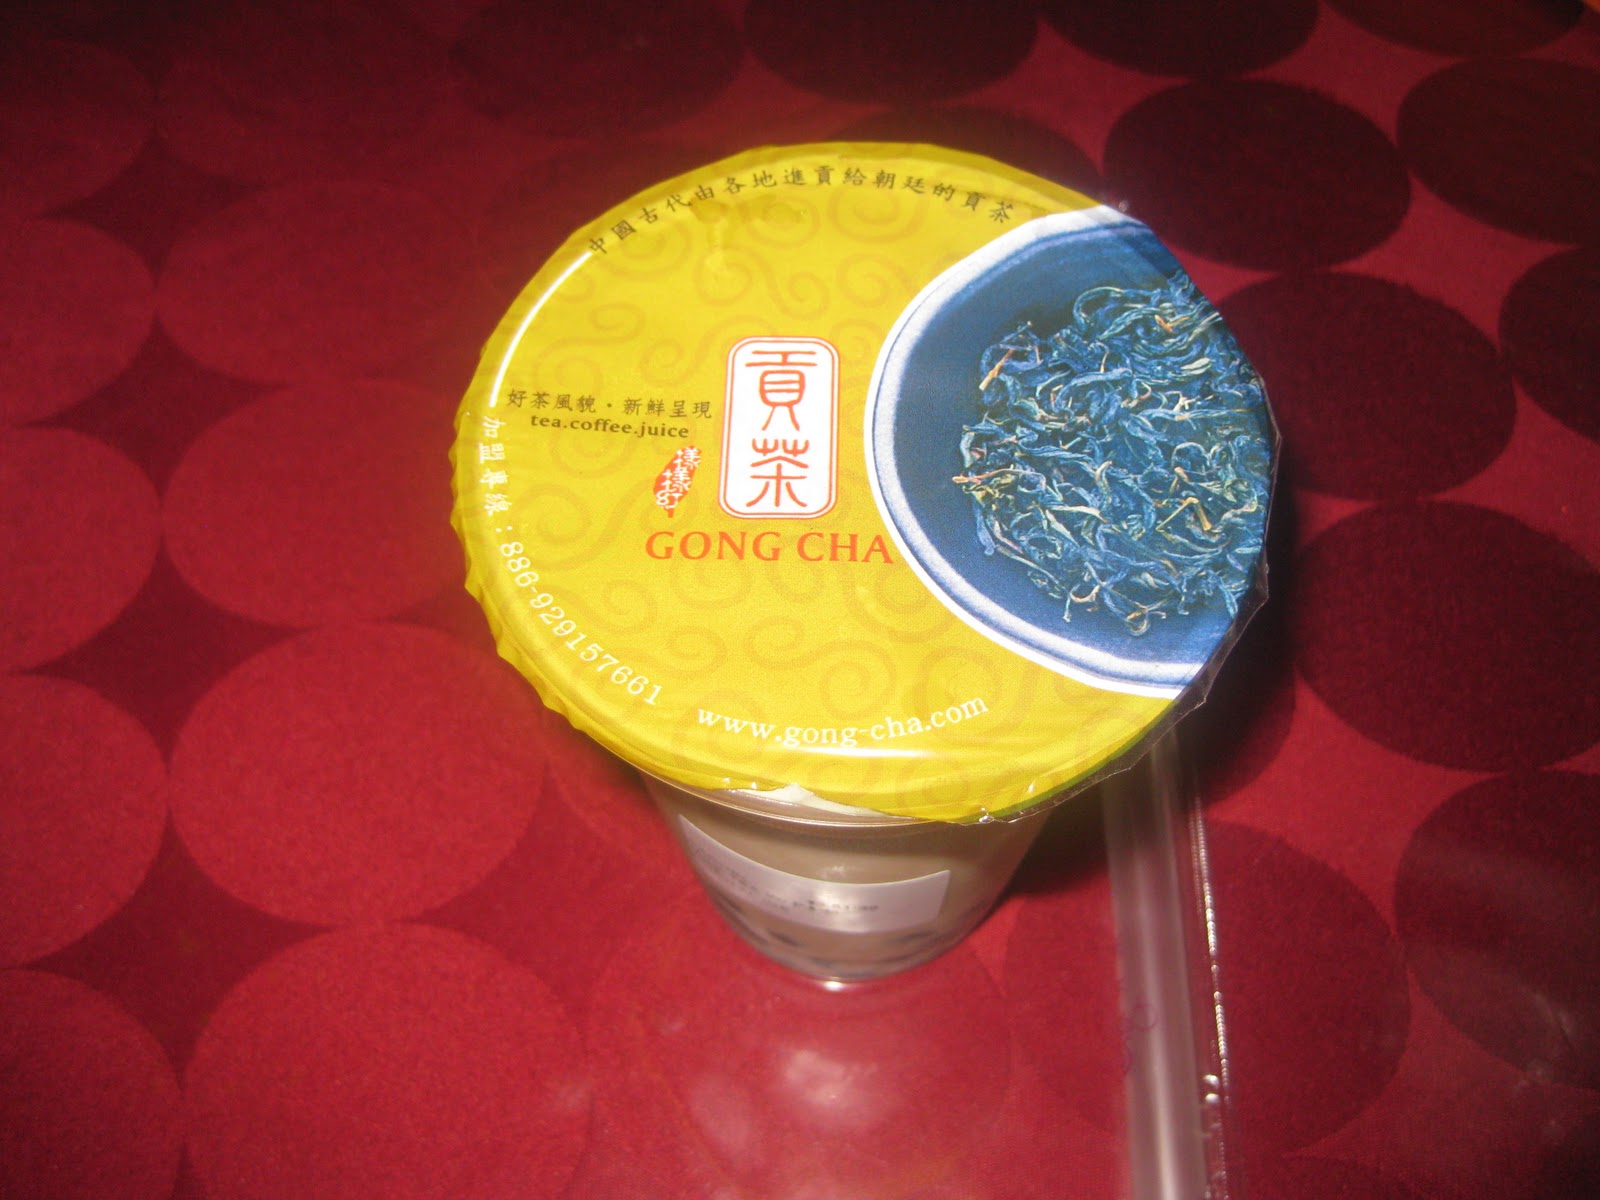
As promised, I'm sharing my latest discovery in the milk tea craze. On a hot and humid day, I decided to try Gong Cha which is located at Sky Garden, SM North EDSA. I've been hearing a lot of good remarks on this milk tea station. It has always been in the list of Top 3 Bubble Tea Stores in the country today. So what's really the fuss all about?

Gong Cha, as their slogan says "Tea fit for Royalty," does not scrimp on their ingredients. It uses tea leaves not tea bags in brewing their tea, thereby infusing the flavor even more. It seems that they perfected the brewing process of tea. The drink comes in two sizes - Medium and Large.  It has seven categories to choose from: House Special (Bestsellers); Coffee Special; Pearl Ice Smoothie; Milk Tea; Creative Mix, Ice Cream Special; and Brewed Tea. It has four sugar options - 100%, 70%, 50% and 0%. Their ice options are Normal, Less Ice and No Ice. Gong Cha Milk Cream, Pearl, Coconut Jelly, Coffee Jelly, Grass Jelly, Fruit Jelly, Pudding, Aloe, Red Bean and Ice Cream comprise their extra options. These options make your drink customized to your taste. They offer not just tea, but coffee and chocolate drinks as well. They have kid-friendly drinks, like Lemon Juice with Aloe and Ice Cream Chocolate.

I chose the Gong Cha Milk Winter Melon Tea with coconut jelly, one of their bestsellers, and the Milk Tea with Pearl Jelly. I found the former to be refreshing. The drink is light-bodied even if it has milk cream on top. The latter drink is creamy not a watered-down version of milk tea. You can actually taste the tea in the milk. The pearl jelly in this drink has the right amount of sweetness. Also, it is chewy but has a certain bite. It's like 'al dente' for pearl jelly. 


There are four things that set them apart from the rest of the pack. First on the list is the deep flavor of their tea. You can actually taste the steeped leaves. Secondly, the right mix of tea, milk and flavorings creates a unique blend which leaves an impact on your palate. Their milk tea is really creamy. It's not watered down. You can actually taste the tea and not just the milk. Thirdly, it is their Gong Cha Milk Cream. I think they're the only ones who offer the milk cream as extra option. The milk cream is similar to the milk froth found in your latte and cappuccino. Lastly, it is their Ice Cream Option. I haven't encountered any other milk tea station that combines ice cream and milk tea.

The Gong Cha in Sky Garden, SM North EDSA has a fast and efficient service. The drinks are properly labeled. It indicates the type of drink, level of sweetness, ice option and extra option. I just wish that they will have seats inside the air-conditioned store, so customers will be more comfortable, especially on a extremely hot & humid day. I hope that they'll have more branches in the future.  Other than that, I really enjoyed my Gong Cha  Milk Winter Melon Tea.

If you want to try ice cream with tea or if you want to taste the milk cream (milk froth)  in your milk tea, you have to definitely try Gong Cha!

Monday, October 31, 2011

A Mickey Mouse Clubhouse Party Theme for my son, Joaqui

In preparing for a party, I really plan ahead of time. I get really excited in planning a party. Maybe because I've been much exposed to party planning early on since my family had always been the host of gatherings/reunion; and the years of arranging meetings, conferences, seminars, formal dinners have further given me skills and experience in handling events. I treat events as special projects of mine. I' always like to be hands-on any preparation. I admit that I'm OC to details. I even organized my own wedding. To show you a bit of how OC I am, for my wedding, I drew a six-month schedule prior to my wedding and made a matrix - indicating the person responsible for a specific task, detailed date/time allotted for it, resources needed and the expected outcome of that activity. I delegated the tasks to my trusted family members and friends, thus ensuring that my wedding and reception went on smoothly. So it comes as no surprise to me and my family and friends,  that I would take pains in preparing my only son's birthday party. 

Six months before my son's birthday, I started asking him where does he like to hold his birthday party and what inspirations or theme he would like to have on that day. He explicitly asked for his party to be held in McDonald's Quezon Avenue. He was very specific about the place. He has good memories of the place because he attended a few of his classmates' birthday parties there.  Since Joaqui absolutely adores Disney Junior; he requested for a Mickey Mouse Clubhouse theme. It was a good thing that McDonald's Quezon Avenue offers that theme and their party package includes the Mickey Mouse Clubhouse loot bags and prizes.  Thus, it made it much simpler for me to concentrate on the edible giveaways.

Since I had the luxury of time to search and procure the materials needed for a Mickey Mouse Clubhouse theme. The internet has provided me answers how to execute the chosen party theme and where to buy the materials. I thought that I really wanted the party to be "Mickey Mouse kung Mickey Mouse." So, I decided to make these items - Mickey Mouse Character Cake, Mickey Mouse Cupcakes, and Mickey Mouse Sugar Cookies. 

The Mickey Mouse Character Cake pan is one of the earliest cake pans sold by Wilton, so it is not readily available in the local market. I had to order this one from ebay. With the Mickey Mouse Cupcakes, I got inspiration from youtube on how to do different Mickey Mouse Cupcakes. Lastly, I bought the Mickey Mouse and Minnie Mouse cookie stamps, ingredients and packaging from Chocolate Lover. 

I baked a Lemon Chiffon Cake for the Mickey Mouse Character Cake. It took me 1 hour and 15 minutes to prepare and bake the cake. For its icing, I made a buttercream icing or decorators' icing and used star tips to decorate the cake.  This is the arduous task - making and coloring the icing and decorating the cake. Tinting the icing to a darker color may take more than 20 minutes alone, especially the color black. Four hours were consumed alone in completing this task. 

For the Mickey Mouse Cupcakes, I chose to bake a Red Chocolate Velvet Cupcakes with Buttercream Icing. I baked the 80 pieces regular size cupcakes in four and half hours. It's better to bake the cupcakes in the center of the oven. The cupcakes will come out perfectly in controlled temperature of the oven.  It will not have cracks or overflow from the liner. I made the icing and decorated the cupcakes in four hours.

With the Mickey Mouse Sugar Cookies, it took me two days to mix, chill, bake, decorate, dry and pack these cookies.

These tasks may seem daunting at first, but I had my handy helpers - Yaya Jane and Joaqui. We were like an assembly line at home. It was exhausting, but really fun to do. My son had so much fun in baking and decorating the goodies and had the first crack at tasting these treats.

It was indeed a labor of love. Seeing my son smile with much delight on his special day made all the pains and effort worth it.  Also, guests were appreciative of the edible tokens.


Mickey Mouse Party was pure HAPPINESS for my son - Joaqui. 


Tuesday, October 11, 2011

HALLOWEEN TREATS


My son's preschool holds an annual Halloween Party. Everyone gets excited in preparing for this event, including me and my son. Students and parents are requested to bring treats for all in this party. My son and I decided to make our own treats instead of buying it. It's cheaper to have it home-made, more personal and special. Also, it provides an opportunity for family members to bond. It simply spells "FUN." Plus, baking improves the child's motor-skills and helps him/her to do math. 

Joaqui always wants to help in the kitchen. He is my handy helper. He helps me in measuring and sifting dry ingredients. He loves the mixing part. But the best part of it all is that we'll enjoy a bite of our creations and share them with friends. 

Last year, we baked Monster Cupcakes. We had a great time decorating cupcakes, transforming them into creepy monsters. This year, we made spider webs, scary pumpkins and spooky ghosts sugar cookies. 

What shall we make for next year???


Sunday, October 2, 2011

My version of Batchoy

Due to insistent public demand, I'm sharing my recipe of Batchoy. In deconstructing this fare, I've tried to remember the different versions of La Paz Batchoy I've tasted in Taft Avenue and Leon Guinto. So here is my version. 


My version of Batchoy
Serves 3-4 persons
Ingredients
2 tablespoons garlic, minced
1 small shallots, chopped
2 tablespoons vegetable oil
250 grams beef shank, diced and include bones in boiling water
80 grams pork liver, diced
80 grams pork shoulder, diced
1.5 liters water or beef broth
2 pieces Beef Cubes (omit if using beef broth)
300 grams miki, washed
Salt & pepper to taste
2 tablespoon spring onions, chopped
¼ cup chicharon bits
1 tablespoon toasted garlic bits
2 hard-boiled eggs, sliced

  1.  .      Saute shallots and garlic in oil.
    2.      Add the beef shank, pork shoulder and liver. Saute for a minute.
    3.      Add water, salt, pepper and beef cubes, and then bring to a boil. Reduce heat to simmer and cook until the pork and beef are tender. (It’s better to use a pressure cooker to reduce the cooking time).
    4.      Add the miki noodles. Let this simmer for 3 minutes.
    5.      To serve, put miki noodles in a bowl topped with pork and beef pieces the pour the broth into the bowl.
    6.      Top with spring onions, chicharon bits, toasted garlic and sliced hard-boiled eggs. 


 It's perfect for the rainy weather. 

WEEKEND COOKING

On weekends, I feel doubly inspired to cook for my family from breakfast to dinner and even midnight snack.  I have more time to prepare an elaborate meal or a slow-cooked meal and my family has more time to enjoy it on these days.  Weekend is also a time in which family members are complete and take their meals at a leisure pace. There is no rush to finish meals quickly. There is more talk, ideas and stories exchanged over meals. Weekends are also allotted for get-togethers or reunions. Glorious food brings family, relatives and friends together. When catching up with family and friends, it is usually done over food (breakfast, brunch, lunch, afternoon tea or coffee, dinner and nightcap).

It has been a tradition for my family to have special meals on weekends. My mom used to cook her specialties and our favourites on these special days. I remember when I was little; our Saturdays would be all about home-cooked meals. Fried rice, sunny side-up and dried fish would be served for breakfast. Then lunch would be a pork dish like Dinuguan, Callos, Meatloaf and Pot Roast, etc. My mom would cook everything from scratch. My brother, Monch, and I would usually help her in preparing the snacks that range from guinataan (mais and halo-halo), turon, bananaque, camoteque, biko, maja blanca, halo-halo, mais con hielo, saba con hielo, arroz caldo, champorado, pansit, palabok and pizza. Dinner would be usually a beef dish – Beef Puchero, Bulalo, Kaldereta, Mechado or Kare-Kare. Every meal would be ended with a dessert. My mom would serve a fruit salad or mango tapioca or pudding or ube halaya or leche flan or ice box cake.

When I think about it, I don’t know how my mom had done it. Serving special meals on weekdays and extra special food on weekends, and taking care of a husband and five kids would exhaust any ordinary person. But I think my mom did it because she loved us so much, wanted to express her love through good food and wanted to make our family much closer. So, I imbibed this food culture and tried to continue the tradition of weekend cooking in my own family.

The food served during weekends can be anything from simple to fancy, but prepared always with much love and thoughtfulness for family members to enjoy. Weekend cooking is putting an extra care and effort to bring smiles to the faces of your loved ones.


Cheers to weekend cooking!